Premium WordPress Products
Discover premium WordPress plugins and extensions. Our WordPress import and export tool simplifies data management, making transferring content between sites effortless or backup your valuable data. Boost business efficiency with a CRM lead capture plugin for WordPress, enabling seamless CRM integration with your customer relationship management system to capture and nurture leads effortlessly. Enhance WordPress customer support with our helpdesk integration, ensuring a smooth flow of information and providing a superior experience to your users. Explore premium WordPress plugins to enhance your site’s functionality and take it to the next level.

Installing WordPress plugins is a simple done in a few minutes. First, log into your WordPress site and navigate to the Plugin section of your dashboard. Click the “Add New” button from the top and type the name of the plugin you want to install into the search bar.
Once you’ve located the desired plugin, click on the Install Now button. WordPress can download it and install the plugin for you. Once the install process is complete, click on the Activate Plugin link to activate the plugin on your site.
And that’s it! You’ve now successfully installed a WordPress plugin.
Uninstalling a WordPress plugin made easy. First, you’ll want to deactivate the selected plugin. To do this, you can either go to the Plugins page in your WordPress dashboard, select a plugin to deactivate it and then delete it from the Plugins page. Also, you can delete the plugin’s folder from your WordPress site’s wp-content/plugins.
How to manually update WordPress plugins? Can be a bit tricky. Still, it’s a process you’ll eventually have to do if you want to keep your site running smoothly. Here are the steps to go through: First, deactivate the plugin you want to update. To do that, Go to the “Plugins” page in the WordPress admin area and click on the “Deactivate” link next to the plugin name. Next, delete the old plugin files from your server. You can use FTP or your hosting control panel for this.
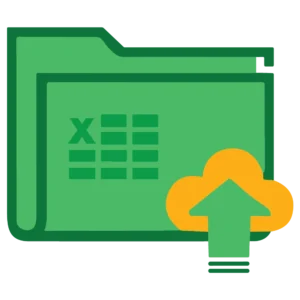
Upload the new plugin version files to the wp-content/plugins directory. Use the FTP method or your hosting control panel for the upload process. Finally, activate the updated plugin version from the “Plugins” page in the WordPress admin area. That’s it! You’ve successfully updated a plugin manually in WordPress. Of course, this process can be tedious if you have to do it often.