WP Ultimate CSV Importer now supports applying multiple filtering rules to refine which records are imported into your WordPress site. This is especially useful when you want to skip irrelevant entries and focus only on specific data that meets your conditions. Let’s see how to use this feature step by step.
Step 1: Upload your import file #
Start by navigating to WP Ultimate CSV Importer > Import/Update in your WordPress dashboard. Upload your import file using one of the available options—Upload from Desktop, FTP/SFTP, URL, or Server.
Select Fresh Import and choose your desired post type for import. Click Continue to proceed.
Step 2: Map the necessary fields #
On the mapping screen, match the column headers from your CSV/XML file with the corresponding WordPress fields. The plugin will auto-map fields that have the same names. You can use either the Drag and Drop Mode or Advanced Dropdown Mode for mapping.
Step 3: Apply multiple filters #
In the mapping area, scroll down to see the Manage Filtering Options section. This is where you can set up one or more rules to control which records are allowed to be imported.
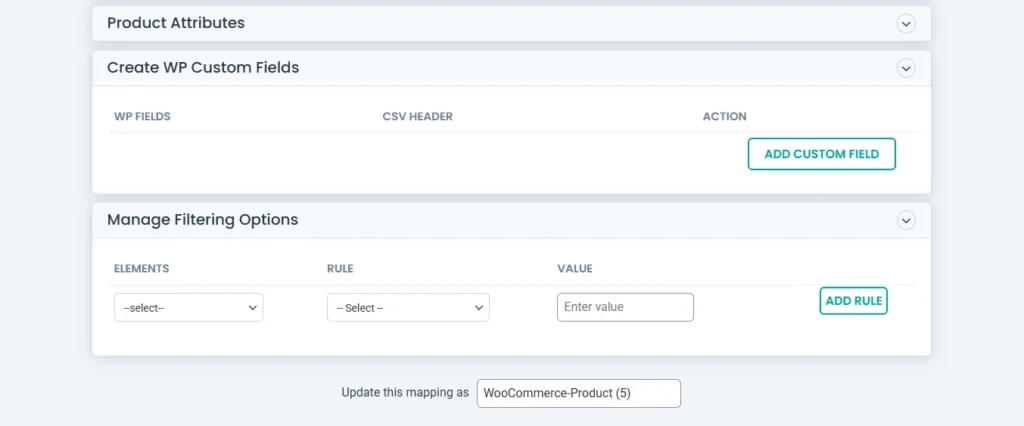
To add a rule:
Choose the WordPress element you want to filter by—for example, featured_image, post_status, or price(the column of your import file).
Select a condition such as equals, is_not_empty, greater than, or contains.
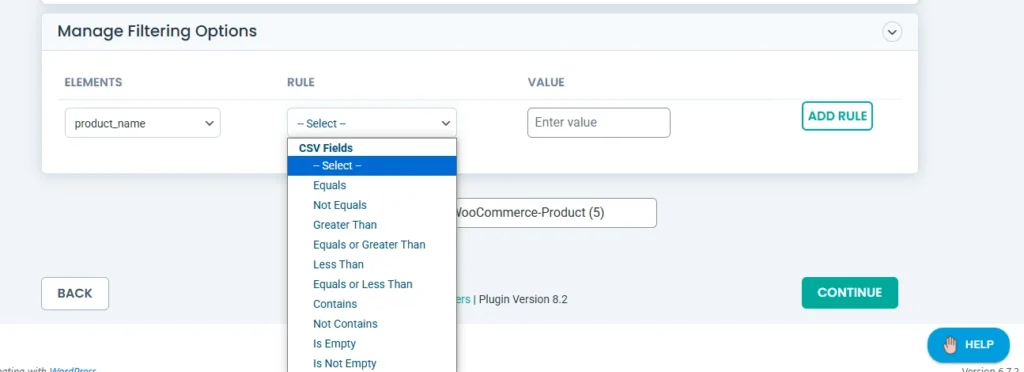
Enter the value that should be checked against.
Click Add Rule after each condition. You can define more than one rule and combine them using either AND or OR logic.
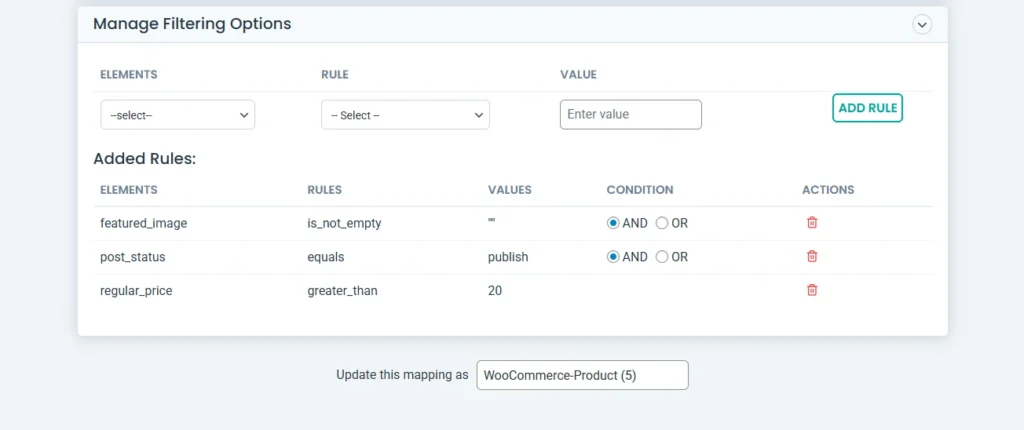
For example, Let’s say you’re importing WooCommerce products and you want to include only the records that meet all the following conditions:
The product has a featured image.
The product is published.
The product price is greater than 20.
To achieve this:
First, set a rule where the featured_image is not empty.
Add another rule to check that post_status equals publish.
Finally, add a rule to include only products where the price is greater than 20.
Make sure the condition is set to AND so that only records that satisfy all three rules will be imported.
Step 4: Run the import #
After configuring your filters, click continue to move to the import section.
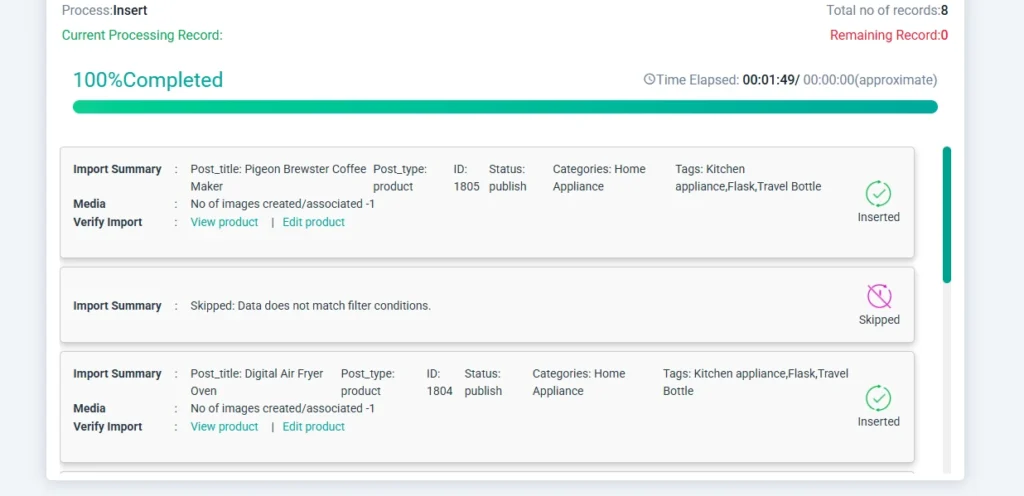
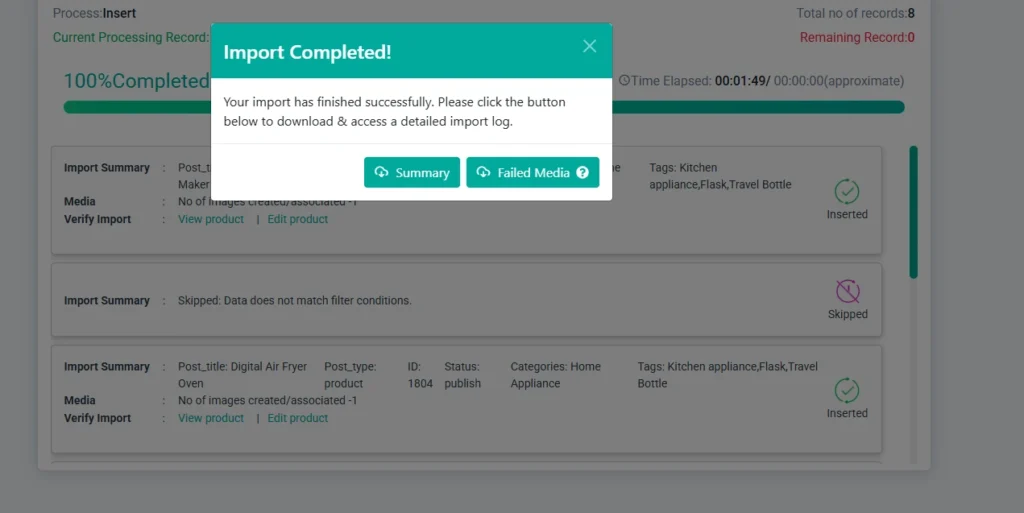
In the import configuration settings area, click Import to begin the process. The plugin will now process only the records that match all your filter rules. Once complete, a log will be generated with a summary and download links for failed entries, if any.
Step 5: Verify the Import #
You can either see the result directly from the Import Screen, which shows which records are imported and skipped, or visit the post type and see the records imported.